Summary
Discord Bots are a fantastic way to set up and efficiently manage a Discord server. While some bots can be set up to Play Music or initiate games and activities, other bots can be used to moderate a server by creating a ticket system. A ticket system efficiently resolves issues within a server and can be set up so that members are put in a private text channel with server moderators. The ticket system is dynamic and highly customizable, with options for a sleek interface utilizing built-in panel buttons.
How to Setup a Discord Tickets Bot
1. Log in to the BisectHosting Games panel.
2. Open the Currently Hosting menu and select Discord Tickets Bot.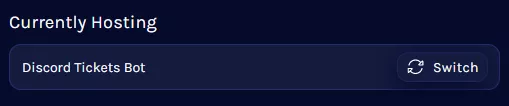

3. Wait for the server to install, then go to the Startup tab.
4. First, generate a bot token by going to the Discord Dev Portal. This may prompt a login.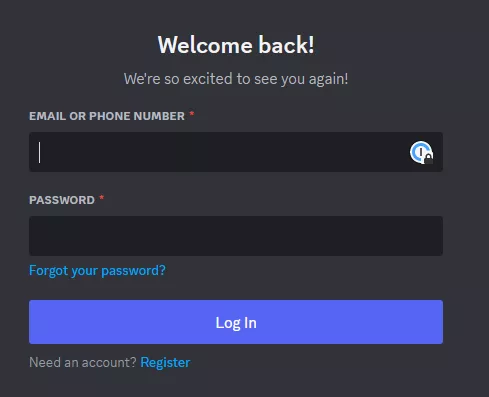
5. Press New Application from the top right.
6. Pick a name for the app; this can be anything and will not affect its name on servers.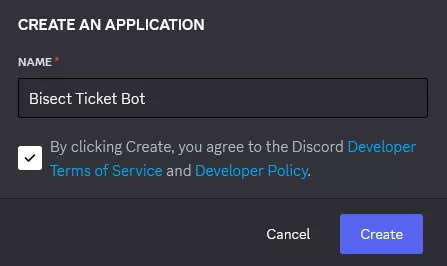
7. Go to the Bot Tab and adjust the following settings:
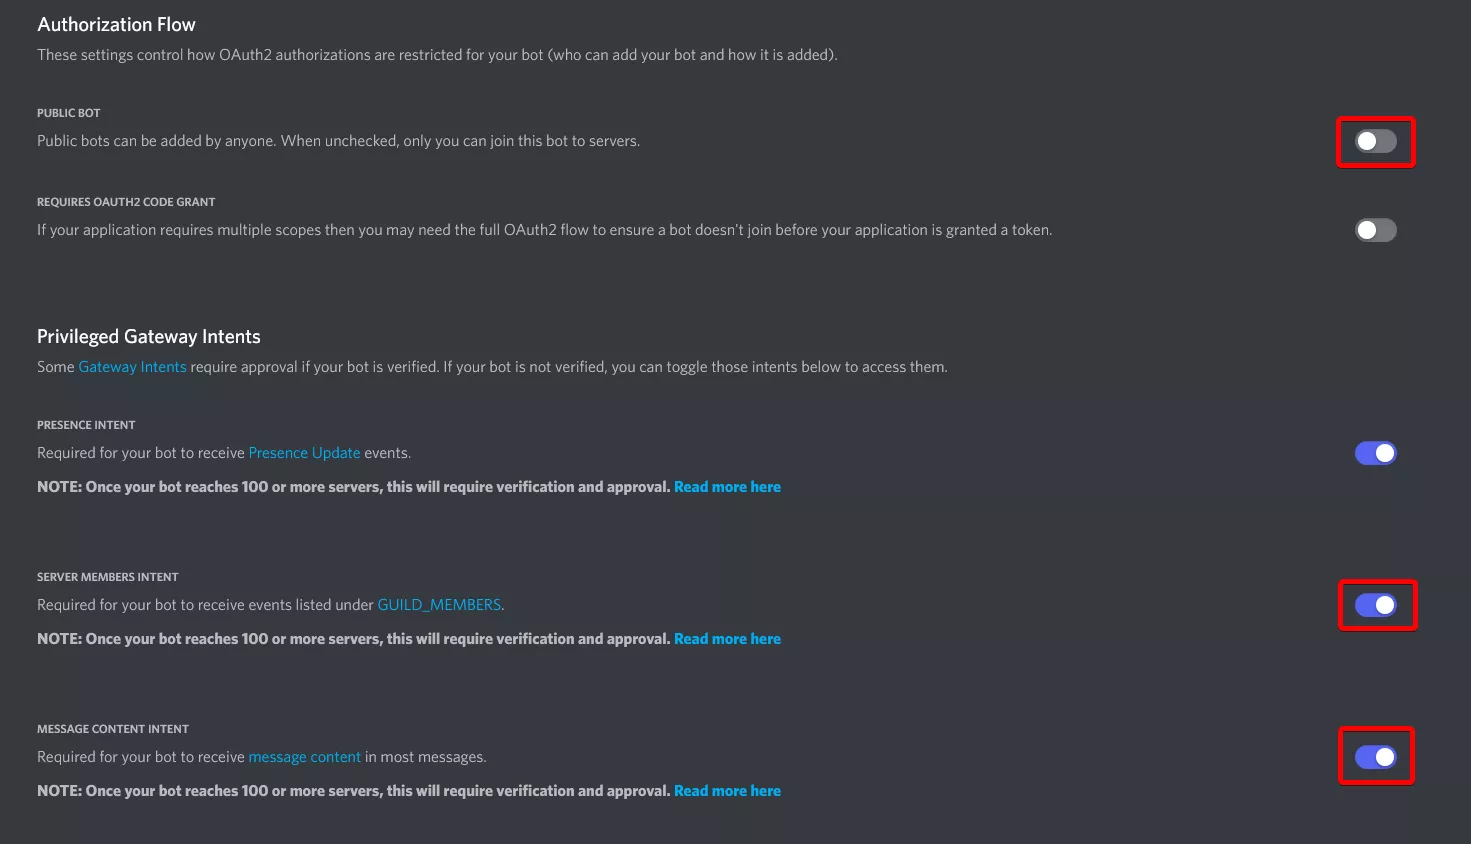
8. Once finished editing, choose Save Changes.
9. From the Token section, choose Copy. If no token is present, then select the Reset Token button.![]()
10. Return to the Startup tab on the Games panel and paste the Discord Bot Token.
11. From the Discord Dev Portal, go to the Oauth2 Tab.
12. Reset the Secret Token, and then copy it.
13. Paste the secret token in the Discord 0Auth Secret section on the Startup tab.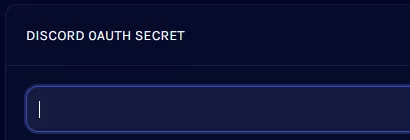
14. Fill in the details for the External URL section; IP and Port can be found from the Home tab.

15. Return to the Oauth2 tab on the Discord Dev Portal,
16. Add a Redirect Link with the following format: http://ip:port/auth/callback , using the server's IP and port.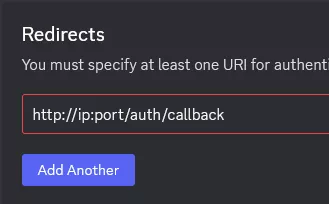
17. Return to the Startup ta, and place any Discord User IDs in the Owner IDs section. 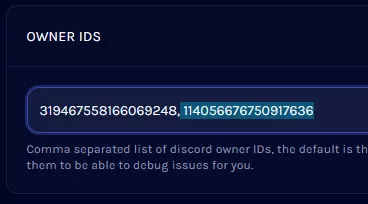
18. Go to the Home tab and choose Start.
19. After the bot starts up, enter the following command: settings , then click the link.

20. Authorize the bot, and then select a server to join.
21. Refresh the page and select the added server.
22. Open the Categories tab.
23. Create a new category and fill in the required settings. Hover over the Question Mark for info on each setting.
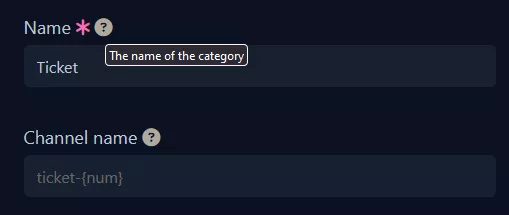
24. Once finished editing, choose Submit to create the category.![]()
25. Open the Panels tab.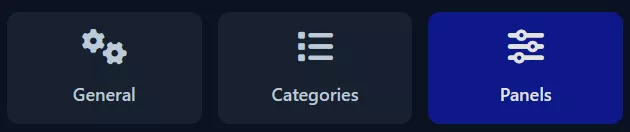
26. Create a panel and designate the desired Ticket Categories. 
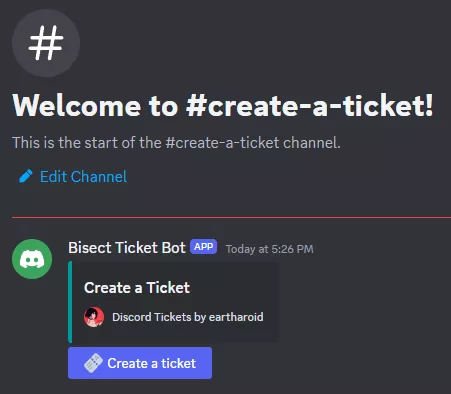
27. After the panel is created, a new text channel will bemaded where tickets can be submitted.